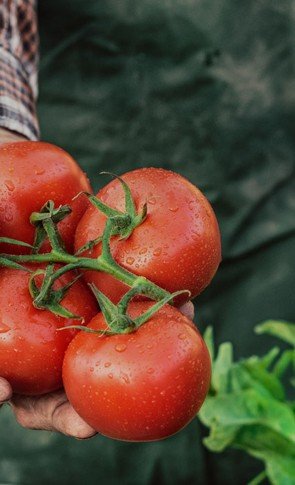
A tomato picked warm from the vine has a way of making a garden feel worth it. Whether you want a few cherry tomatoes beside the patio or enough slicers for summer sandwiches, starting with tomato seeds gives you more choices than a spring plant display ever could.
Growing tomatoes from seed is not difficult, but timing matters. The plants need warmth, light, room for roots, and a little patience before they head outdoors. Start with a variety that fits your space and season, then give the young plants a steady beginning. You do not need expensive equipment or a perfect setup to grow a very good tomato crop.
How to Choose Tomato Seeds for Your Garden
The best tomato is not necessarily the biggest or the most unusual one. It is the one that suits how and where you garden. Before choosing tomato seeds, think about your growing space, your average summer weather, and what you actually want to eat.
Tomatoes generally fall into two growth habits. Determinate tomatoes grow to a more predictable size, set much of their fruit over a shorter period, and are often a good choice for containers, compact beds, and canning projects. Indeterminate tomatoes continue growing and producing fruit until frost. They need taller support and more room, but they can provide a long harvest of ripe tomatoes for salads and snacking.
Fruit size matters, too. Cherry and grape tomatoes tend to mature quickly and produce generously, making them especially forgiving for first-time gardeners. Paste tomatoes have denser flesh and fewer seeds, which makes them useful for sauce and roasting. Slicing tomatoes bring the classic large-fruit tomato experience, though they may take longer to ripen and often need strong cages or stakes.
Heirloom varieties are open-pollinated tomatoes passed down for their flavor, color, shape, or history. They offer a lot of variety, from striped slicers to tiny currant tomatoes. Many gardeners love them because a tomato does not have to look identical to every other tomato to taste wonderful. Hybrid varieties can also be useful, especially when a particular disease resistance is important in your area. There is room for both in a garden.
If late blight, wilt diseases, or cracking have been problems before, look for varieties described as resistant or well suited to your climate. Resistance improves the odds, but it is not a guarantee. Healthy soil, spacing, airflow, and crop rotation still matter.
When to Start Tomato Seeds Indoors
Tomatoes cannot tolerate frost, and cold soil slows them down. Most gardeners should sow tomato seeds indoors about six to eight weeks before their expected last spring frost date. Starting much earlier can leave you with tall, crowded plants waiting too long for outdoor weather to cooperate.
Use your local last frost date as a starting point, then adjust for your conditions. In a short growing season, choosing earlier-maturing varieties can be more helpful than starting seeds excessively early. In warm regions with long summers, gardeners may have the option to plant early for a summer harvest and again later for a fall crop.
Tomato seeds usually germinate best when the growing mix stays around 70 to 80 degrees Fahrenheit. A heat mat can speed germination, but a warm spot indoors often works. Once seedlings emerge, light becomes more important than bottom heat.
A simple seed-starting setup
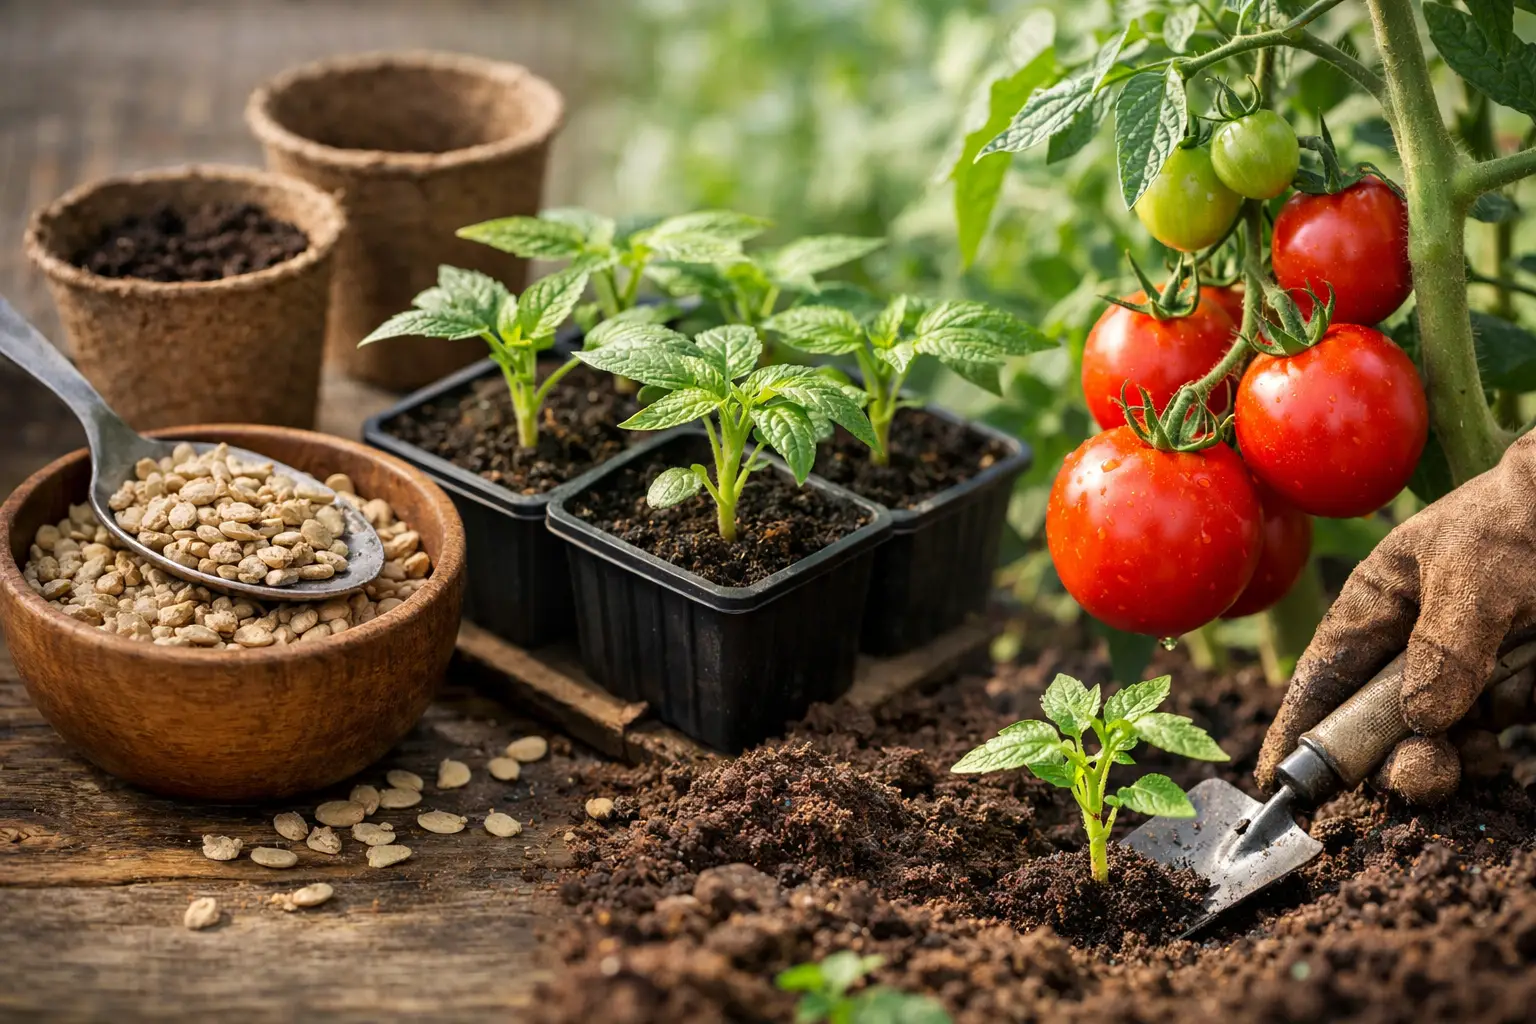
Use a clean container with drainage holes and a light seed-starting mix. Fill the container, moisten the mix so it feels like a wrung-out sponge, and plant seeds about 1/4 inch deep. Label each variety right away. Tomato seedlings look similar at first, and it is easy to forget which is which.
Keep the mix evenly moist, not soaked. Covering the container loosely with a humidity dome or clear plastic can help hold moisture until sprouts appear. Remove the cover as soon as seedlings emerge so air can circulate and stems stay healthy.
A sunny windowsill may be enough in some homes, but tomato seedlings usually grow sturdier under a basic grow light. Keep the light close to the plants, generally a few inches above the leaves, and raise it as they grow. Give seedlings about 14 to 16 hours of light each day. Long, pale, leaning stems are a sign that the light is too weak or too far away.
Potting Up Tomato Seedlings
When seedlings have their first set of true leaves, the leaves that appear after the initial smooth seed leaves, move them into larger individual pots if they are growing in shared cells. This gives roots room to develop and makes transplanting easier later.
Tomatoes have a useful trick: their buried stems can form extra roots. When potting up, set a leggy seedling deeper in the new pot, removing any leaves that would be below the soil line. The plant will often respond by building a stronger root system.
Start feeding only after seedlings have true leaves and are actively growing. A diluted, balanced fertilizer applied according to its label is plenty. More fertilizer will not make a better plant. Too much can create soft, overly leafy growth that struggles after transplanting.
Before planting outside, harden seedlings off for about a week. Set them outdoors in a protected, shady spot for a short time on the first day, then gradually increase their exposure to sun and wind. This transition matters. A tomato plant moved directly from indoor comfort to bright sun can scorch, wilt, or stall.
Planting Tomato Seedlings Outside
Wait until nighttime temperatures are reliably above about 50 degrees Fahrenheit and the soil has begun to warm. Tomatoes planted into chilly soil often sit still for weeks, while plants set out a little later may catch up quickly.
Choose a site with at least six to eight hours of direct sun. Tomatoes can grow in containers, raised beds, and in-ground gardens, but they need consistent moisture and enough space for air to move around them. Crowding plants may seem efficient at planting time, yet it can invite disease later.
Plant seedlings deeply, again burying part of the stem. Water them in thoroughly, then add a layer of mulch once the soil is warm. Straw, shredded leaves, or untreated grass clippings can help conserve moisture and reduce soil splashing onto leaves.
Set up support at planting time. A cage, stake, or trellis is much easier to install before roots spread. Indeterminate varieties especially benefit from sturdy support, since a productive plant can become surprisingly heavy by midsummer.
Caring for Tomatoes Through the Season
Tomatoes prefer deep, steady watering instead of frequent shallow sprinkles. Water at the base of the plant when possible and aim to keep the soil consistently moist. Big swings between very dry and very wet conditions can contribute to cracked fruit and blossom-end rot.
Blossom-end rot shows up as a dark, leathery patch on the bottom of a tomato. It is often blamed on a lack of calcium, but uneven watering is a common trigger because it interferes with the plant’s ability to use calcium already in the soil. Improving watering habits is usually the first practical step.
Feed tomatoes moderately. Compost worked into the bed before planting may be enough for fertile soil. If plants need additional fertilizer, avoid products very high in nitrogen. They can produce impressive foliage while delaying flowers and fruit.
Pruning is optional, not a requirement. Removing damaged leaves and lower leaves that touch the soil can improve airflow. For indeterminate tomatoes, some gardeners remove a few suckers, the small shoots that form between the main stem and a leaf branch, to keep plants manageable. Others let plants grow more freely inside large cages. Both approaches can work, so choose the one you can maintain.
Check plants regularly for hornworms, aphids, fungal leaf spots, and signs of disease. Handpicking a hornworm is often the quickest solution. For leaf diseases, remove badly affected foliage, avoid wetting leaves when watering, and do not compost severely diseased plant material unless your compost gets reliably hot.
Saving Seeds From Open-Pollinated Tomatoes
Saving seed can be a satisfying next step, especially with a tomato you truly enjoyed. Save seeds from healthy, ripe fruit of open-pollinated varieties. Hybrid seeds may grow, but the next generation will not reliably match the parent plant.
Scoop seeds and their gel into a jar with a little water. Let the mixture ferment for a few days, stirring daily, until the gel separates. Rinse the good seeds, spread them on a nonstick surface or paper plate, and let them dry completely before storing in a labeled envelope in a cool, dry place.
You do not need to grow every variety perfectly on the first try. Try a dependable cherry tomato, add one interesting heirloom, and take notes on what earned a place in next year’s garden. Affordable packets from Dollar Heirloom Seeds make that kind of experimenting easier, and every season teaches you something useful.